Installation
You can either install inkgd manually (more difficult) or through the Asset Library (simpler).
Asset Library Installation
Note
Due to review processes, there is often a delay between the moment a new version of the documentation is published and the new version of inkgd is available in the Asset Library. Always double-check whether the version in the library matches the version of the documentation you are reading.
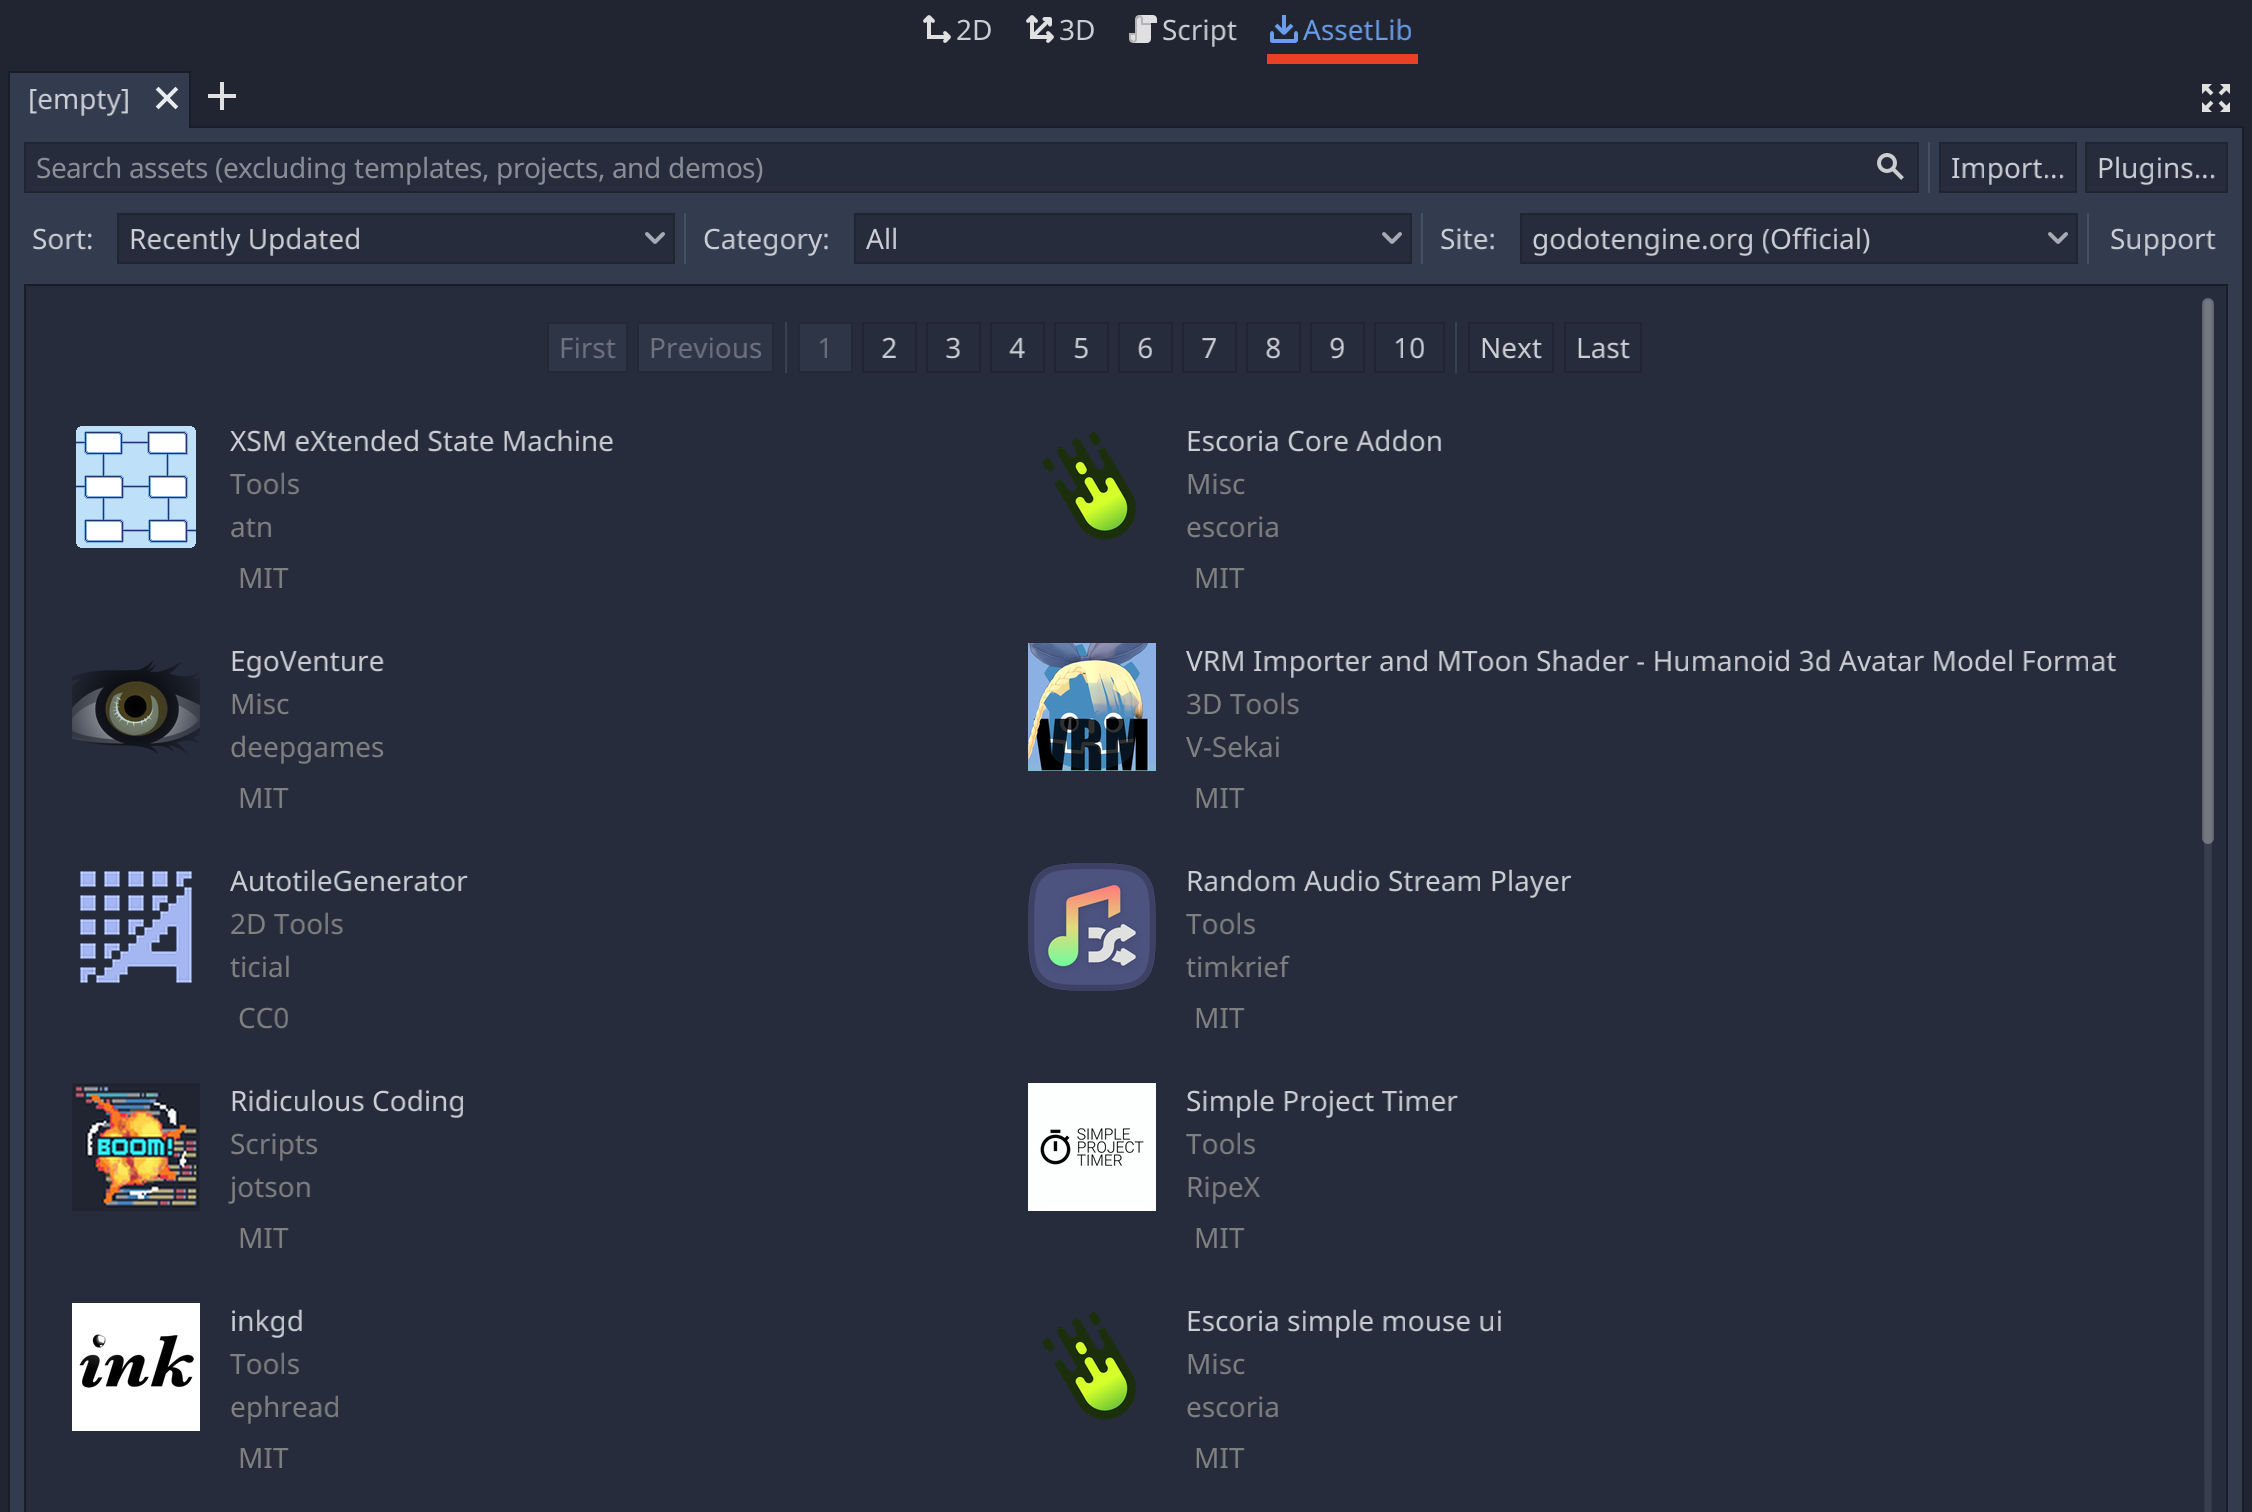
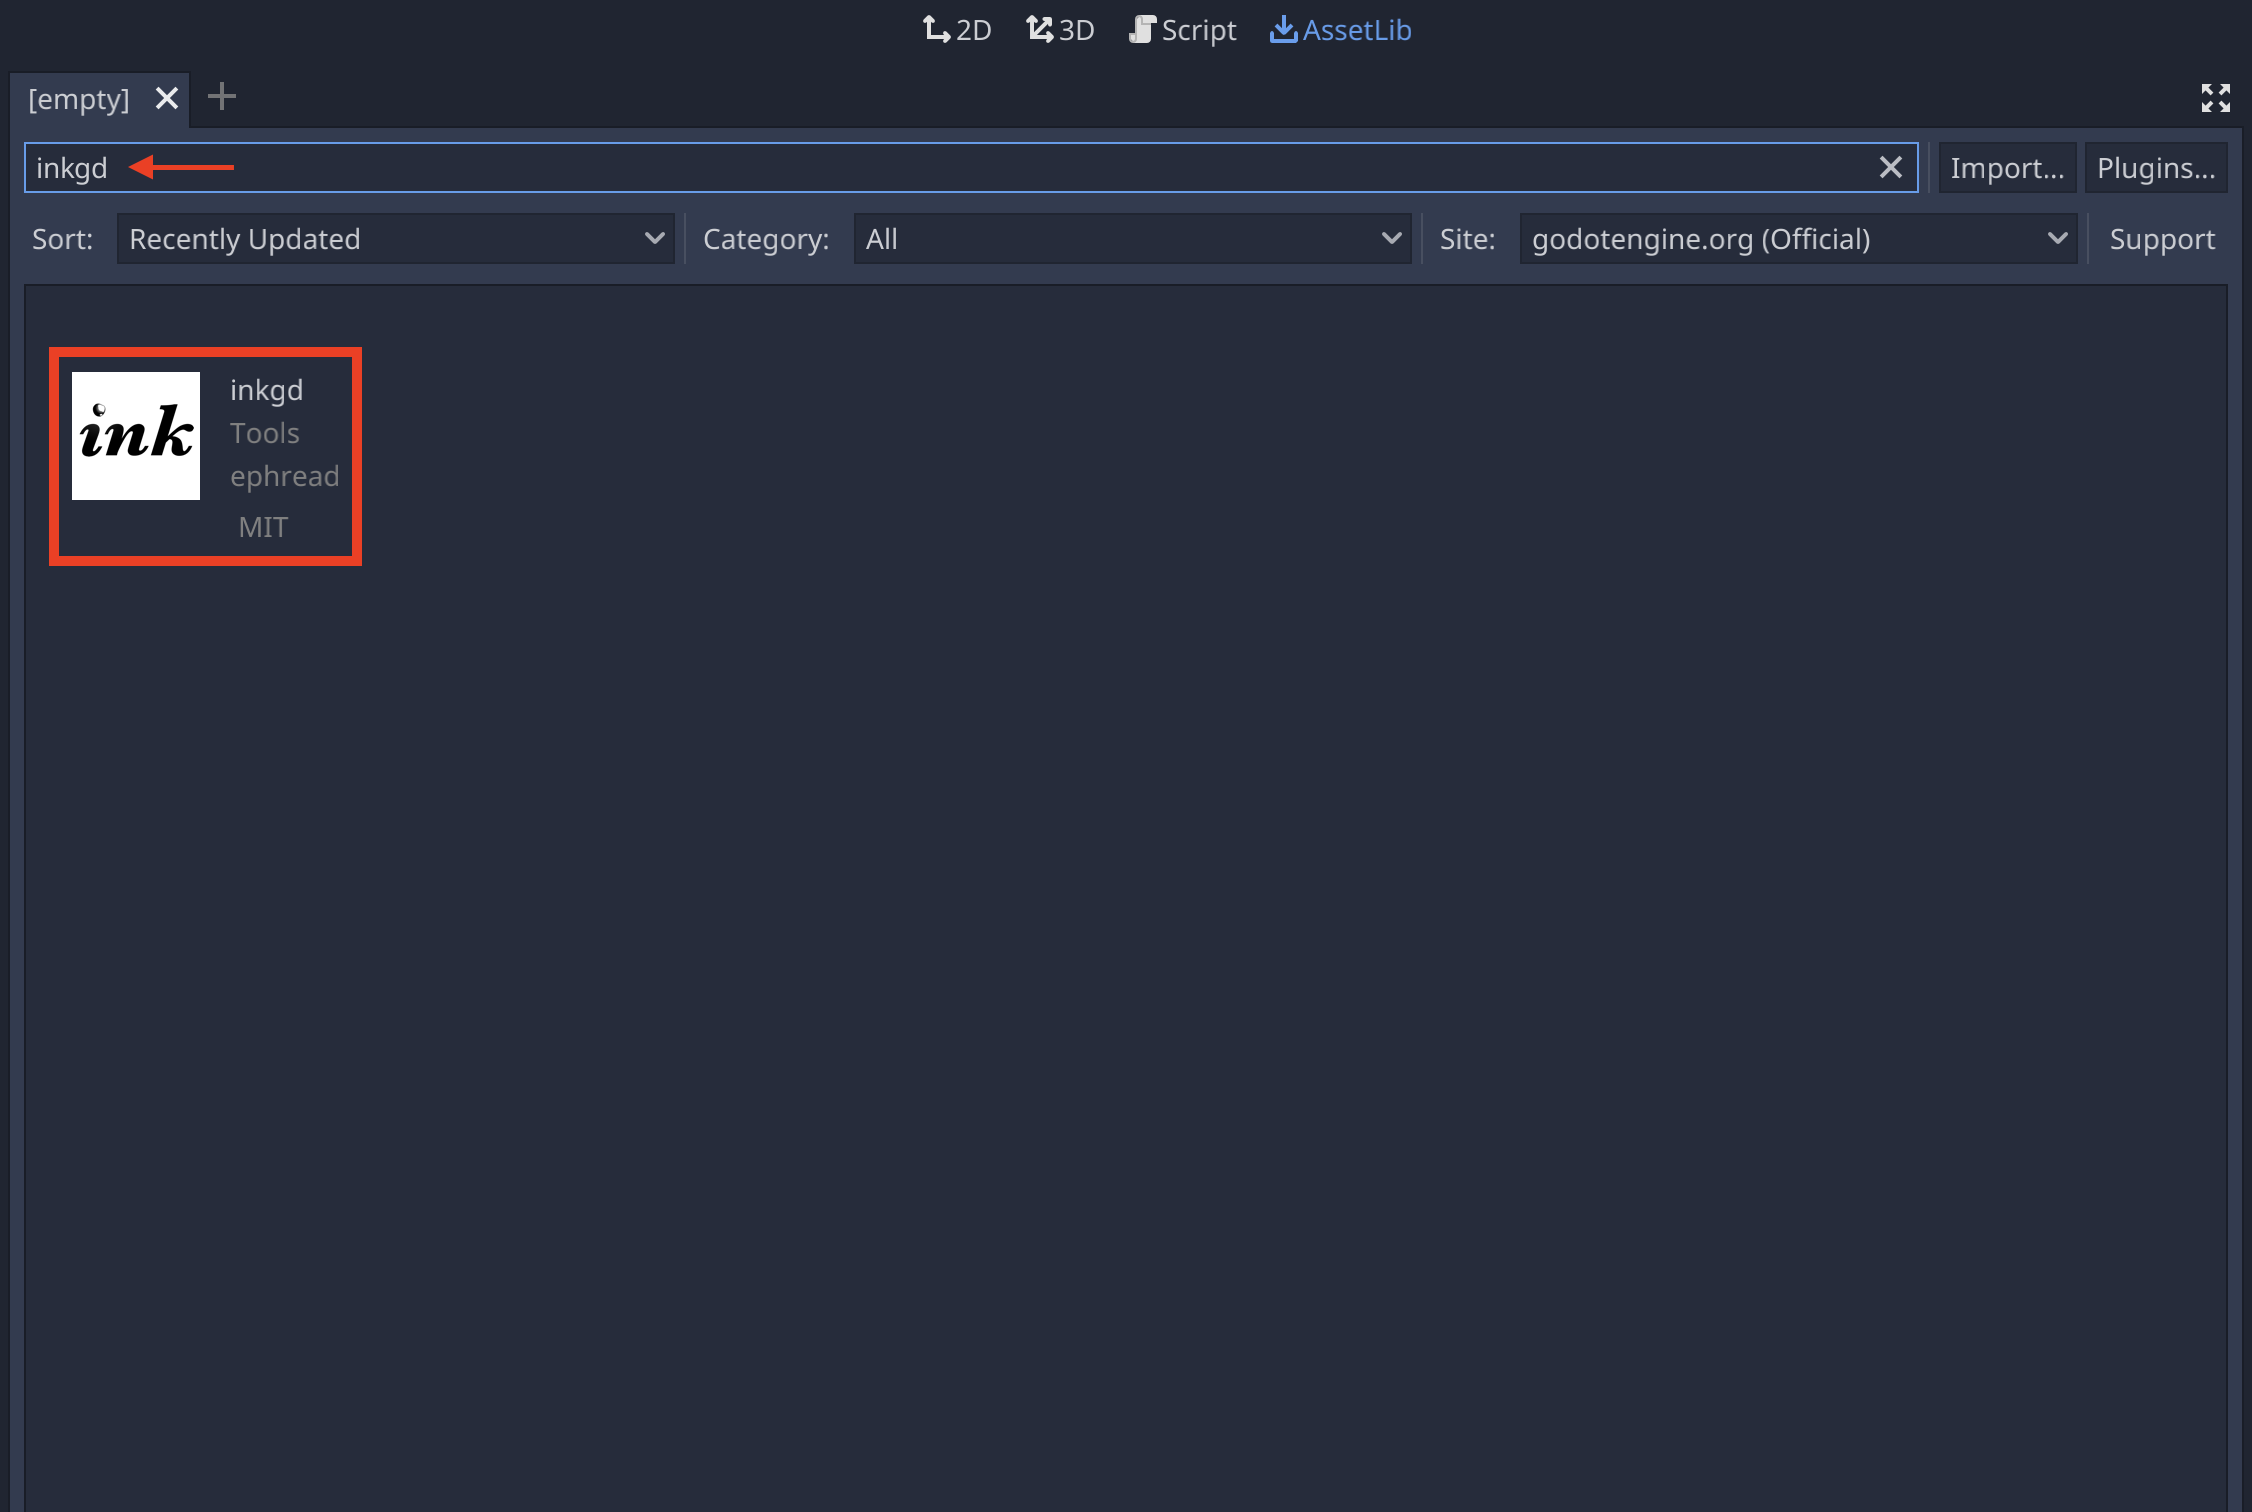
Open a Godot project, click on the to AssetLib tab, at the top of the screen, then search for inkgd.
Select inkgd.
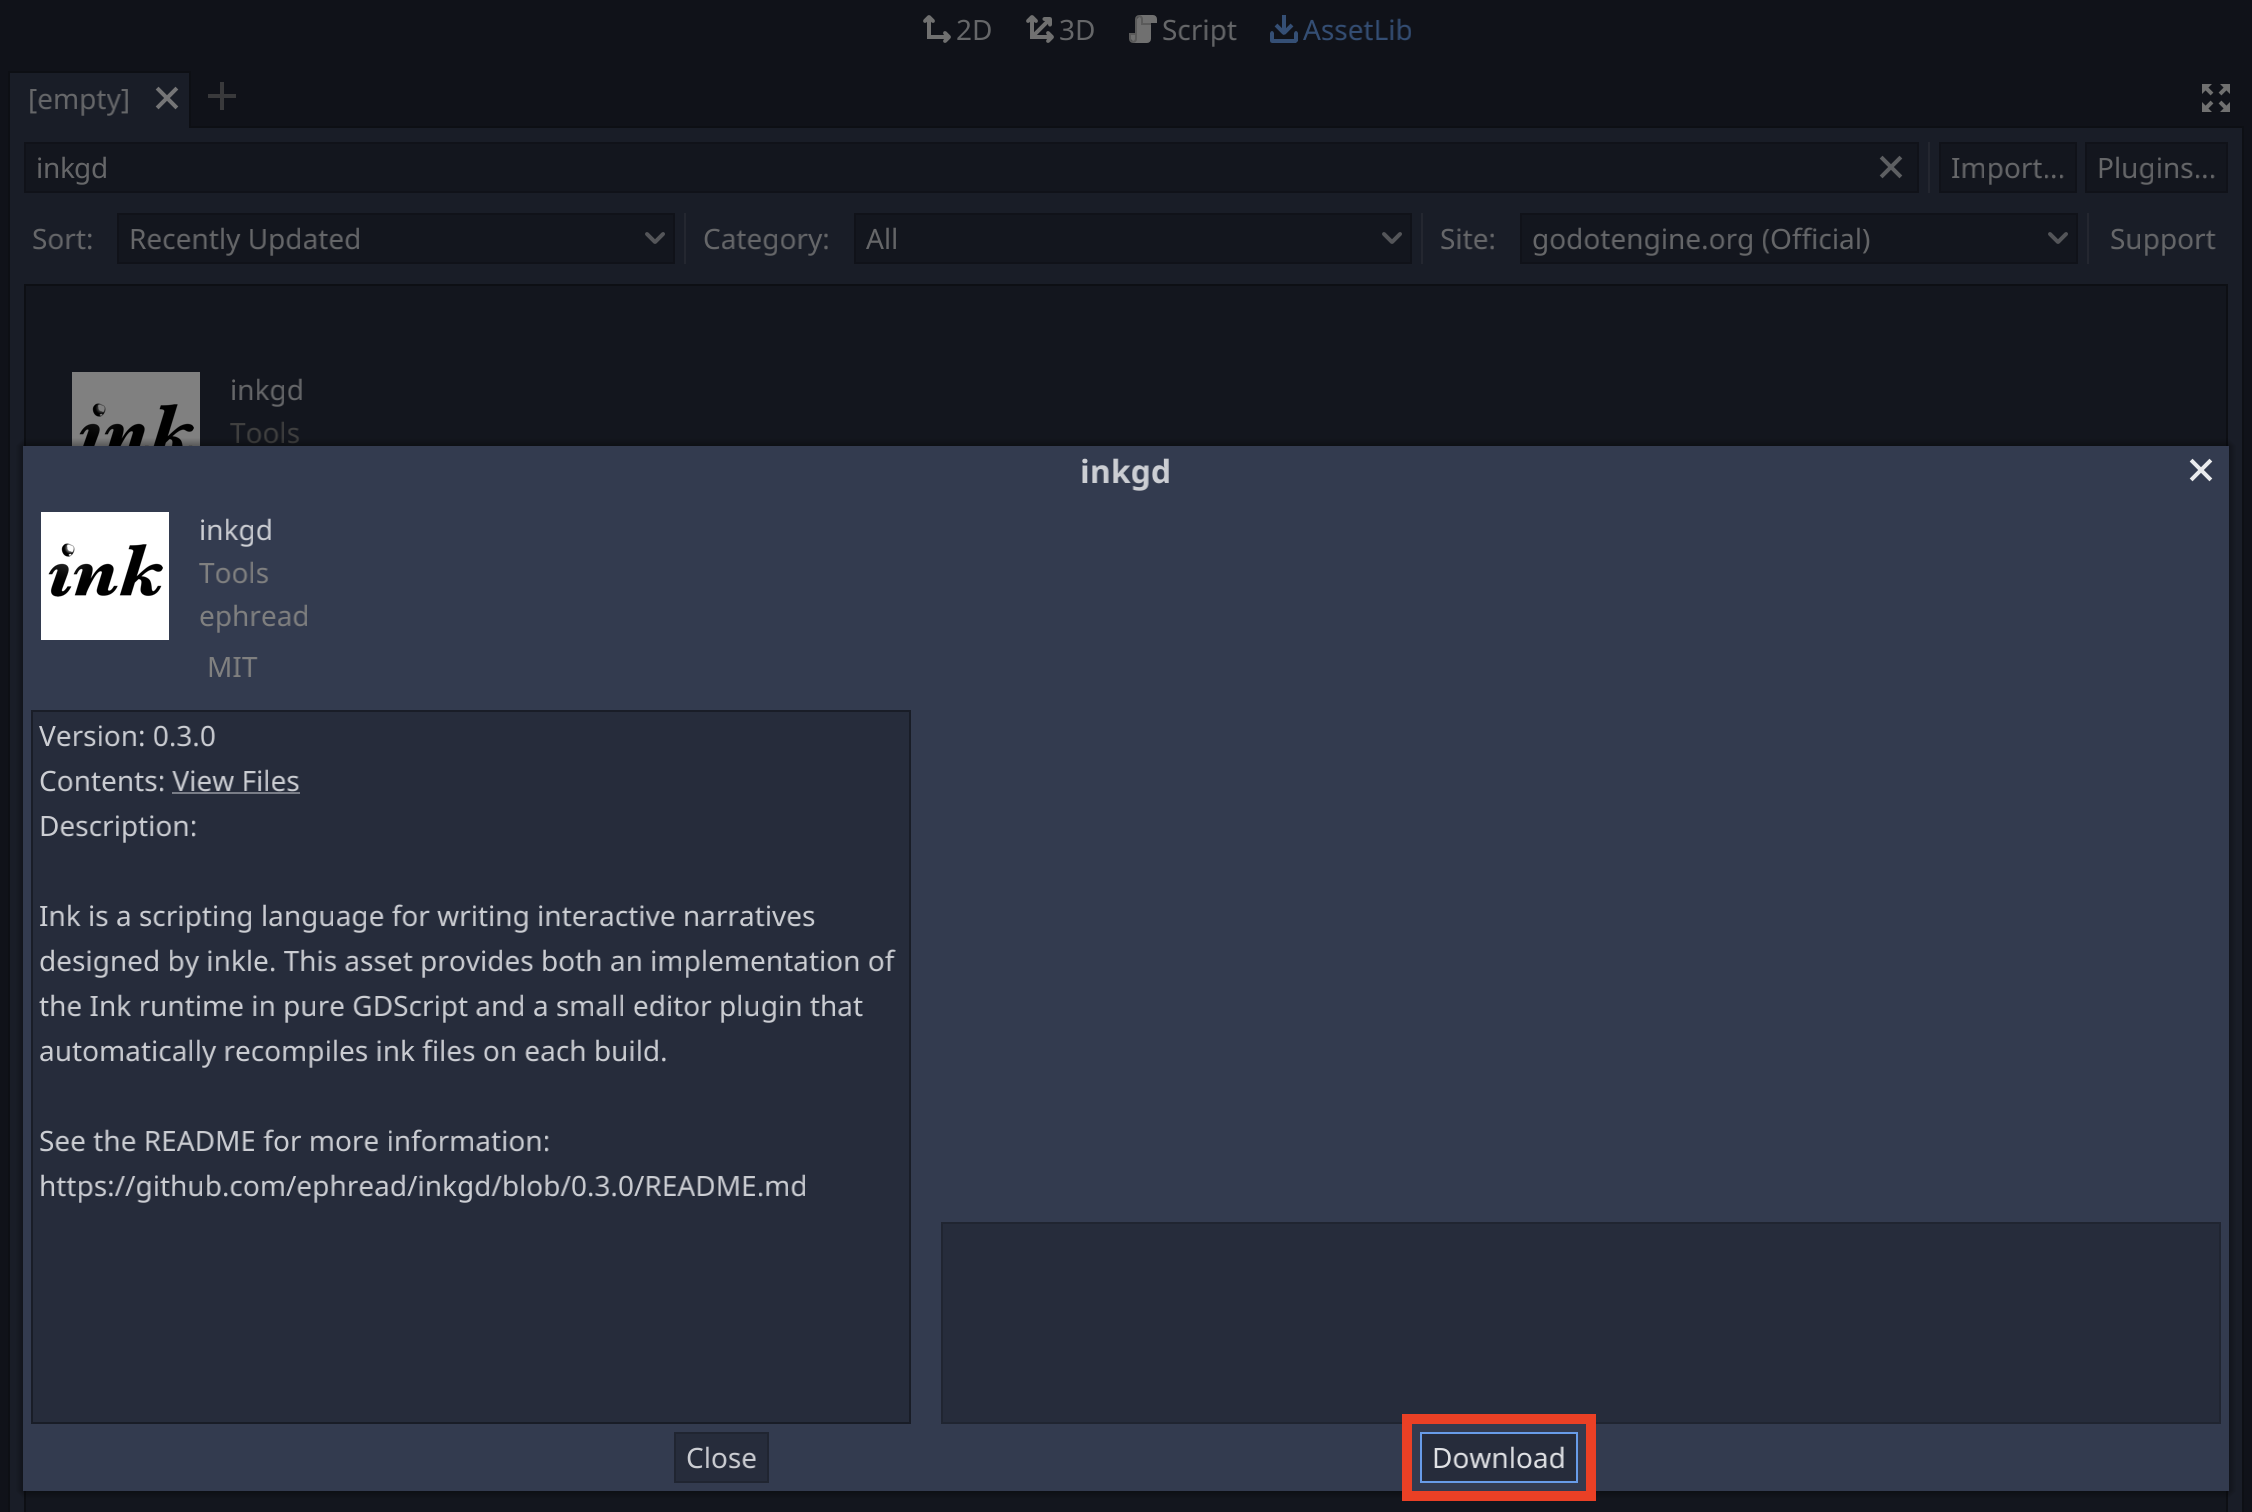
In the popup window, click on Download.
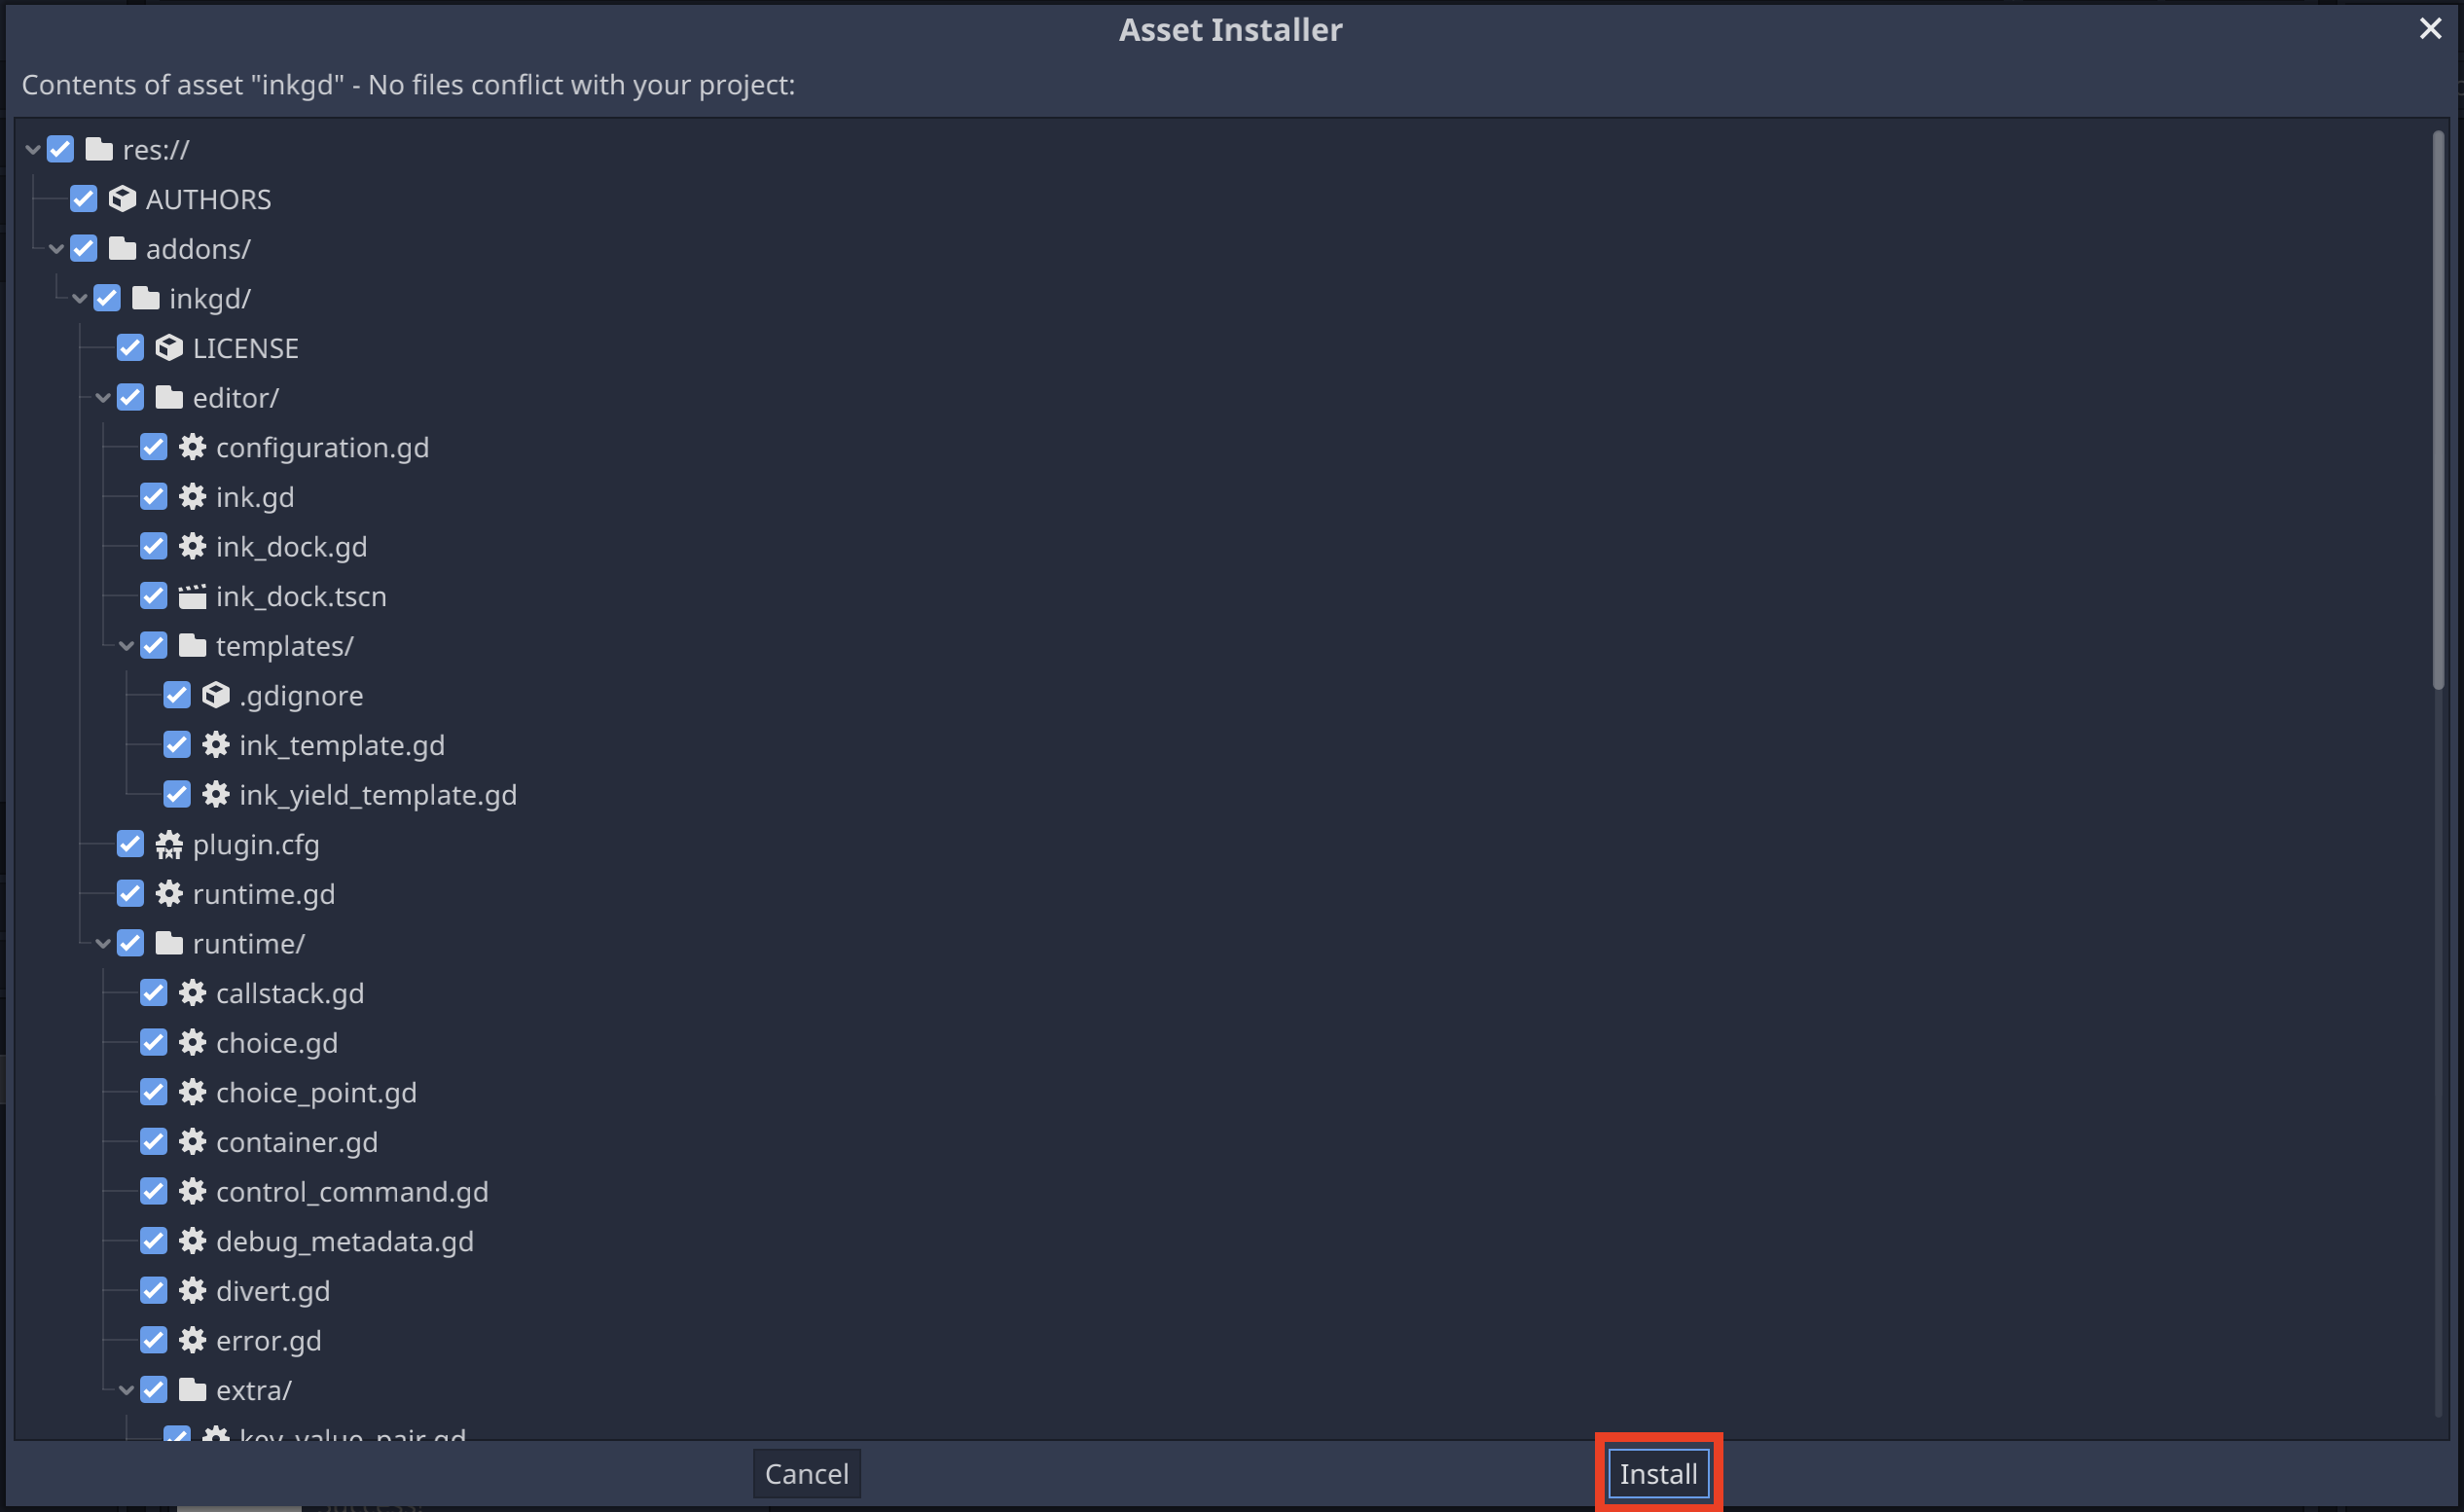
Once the plugin is downloaded, another window will pop up. This window displays the new file expected to be added to the project. Select all files except examples/ then click on Install.
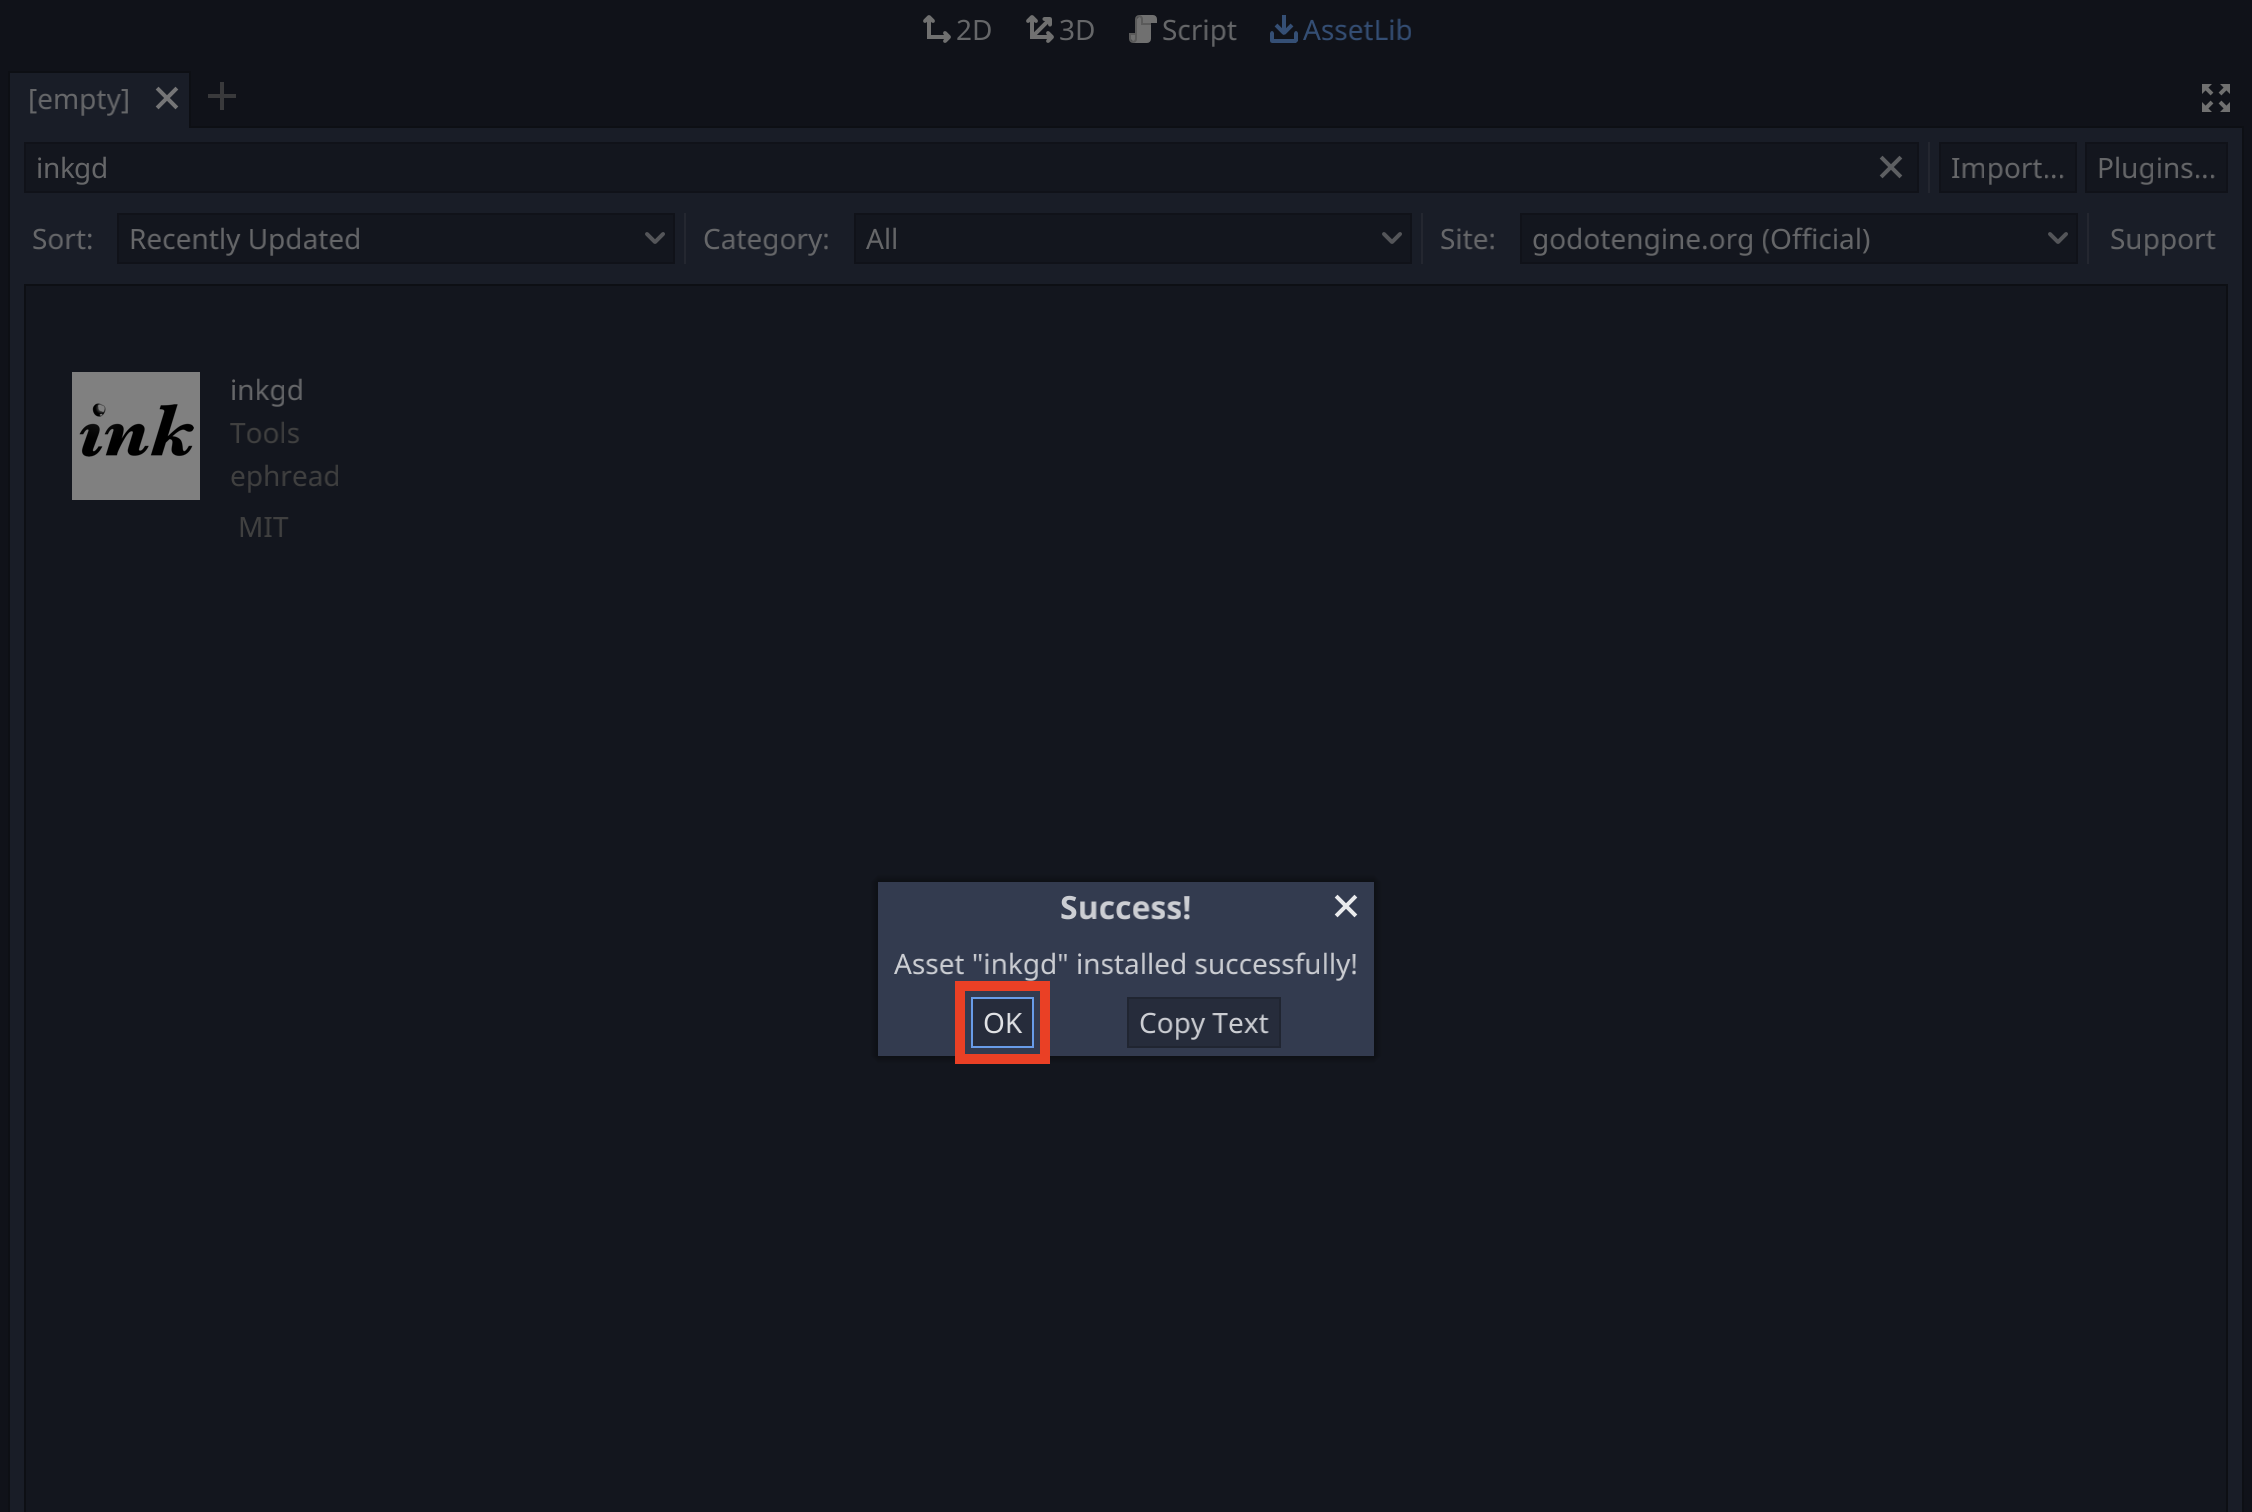
After the installation is completed, a confirmation dialog should pop up. Click on OK to close it.
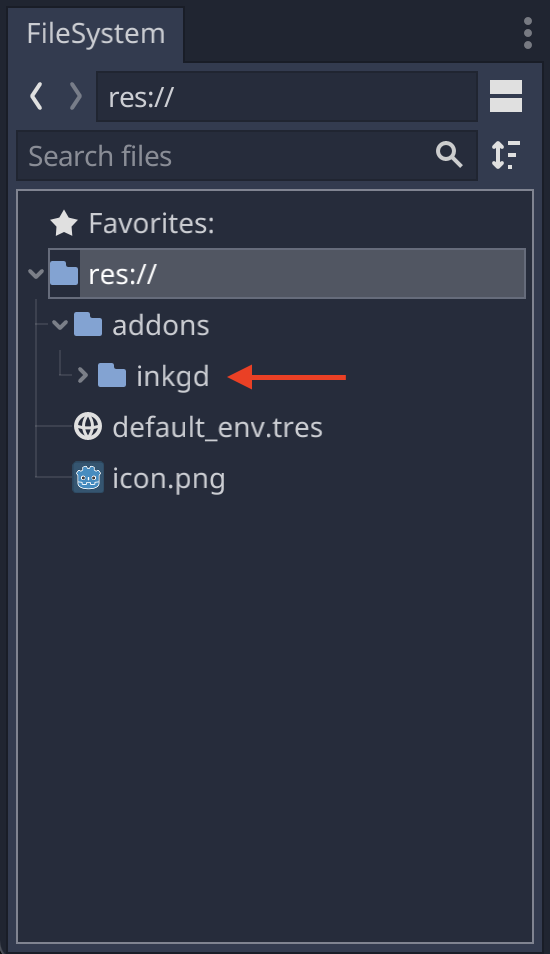
The new files should appear in the FileSystem dock, under the addons folder.
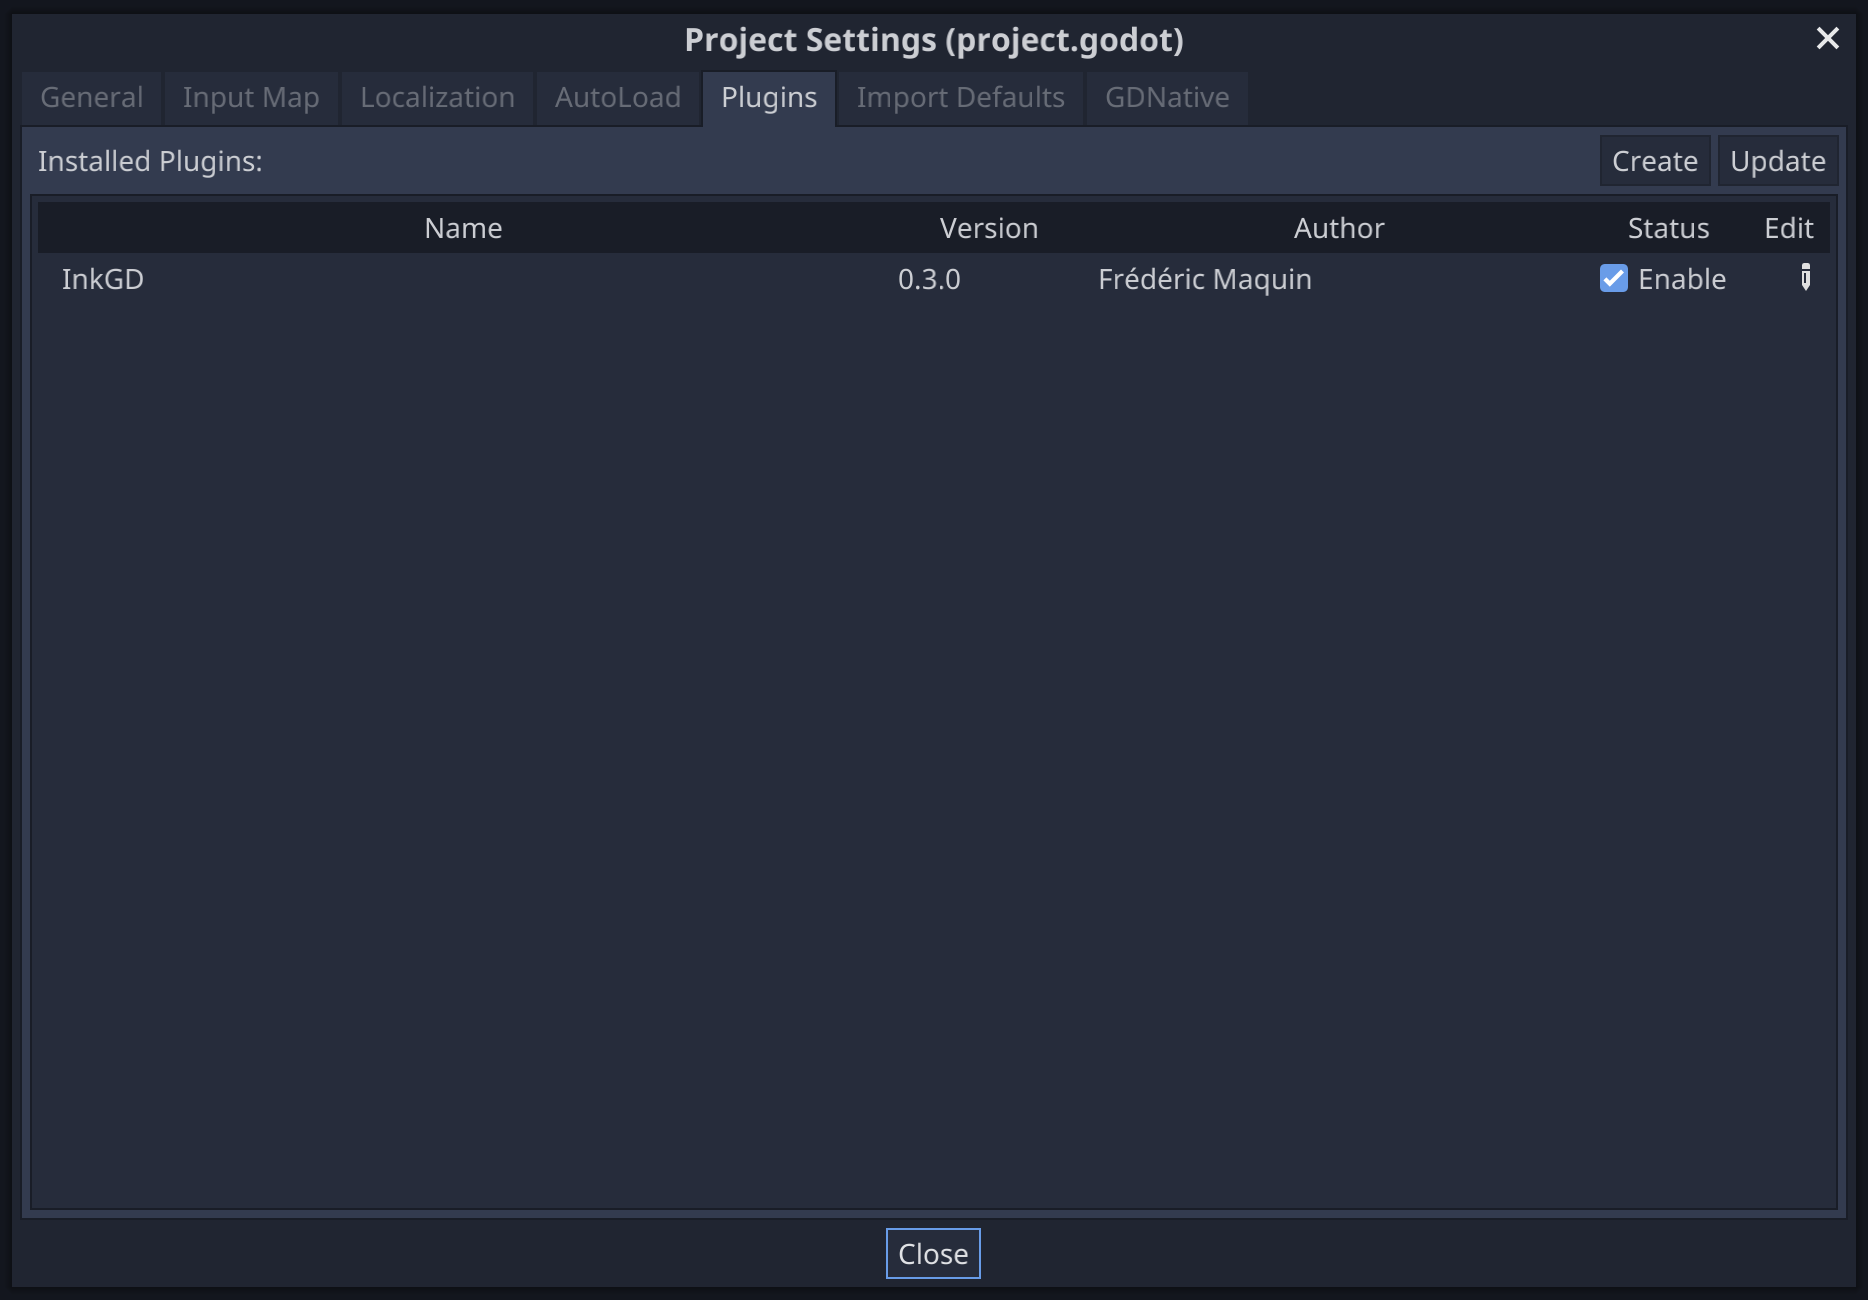
inkgd also provides with an editor plugin to manage ink stories. The plugin should be enabled by default, but it can be disabled from the project settings. (Project > Project Settings > Plugins).
The editor plugin is not required to use the runtime. ink stories can be
compiled through inklecate directly or other editors, such as
Inky. The resulting .ink.json file can be loaded in the project manually.
Warning
If you do not enable the plugin, you will not be able to import JSON files as ink resources. Make sure to include a filter rule in the export settings to prevent JSON files from being discarded during export.
Manual Installation
Use Git to clone this repository:
$ git clone https://github.com/ephread/inkgd.git
Or download the latest stable version of inkgd, then extract the content of the archive.
Once you have the content of the repository on your computer, copy the folder
addons/inkgd to res://addons/ in your project.
Well done, inkgd is installed. Next stop, basic configuration!